You’re offline. This is a read only version of the page.
Skip to main content
Everyday you wait, it cost more to build!
Home
Our Process
Get Pre-Qualified
Floor Plans
Floor Plans
The Ground Breaker Series
The Legacy Series
Land for Sale
Contact Us
Search
Sign in
Toggle navigation
Home
Floor Plans
The Ground Breaker Se...
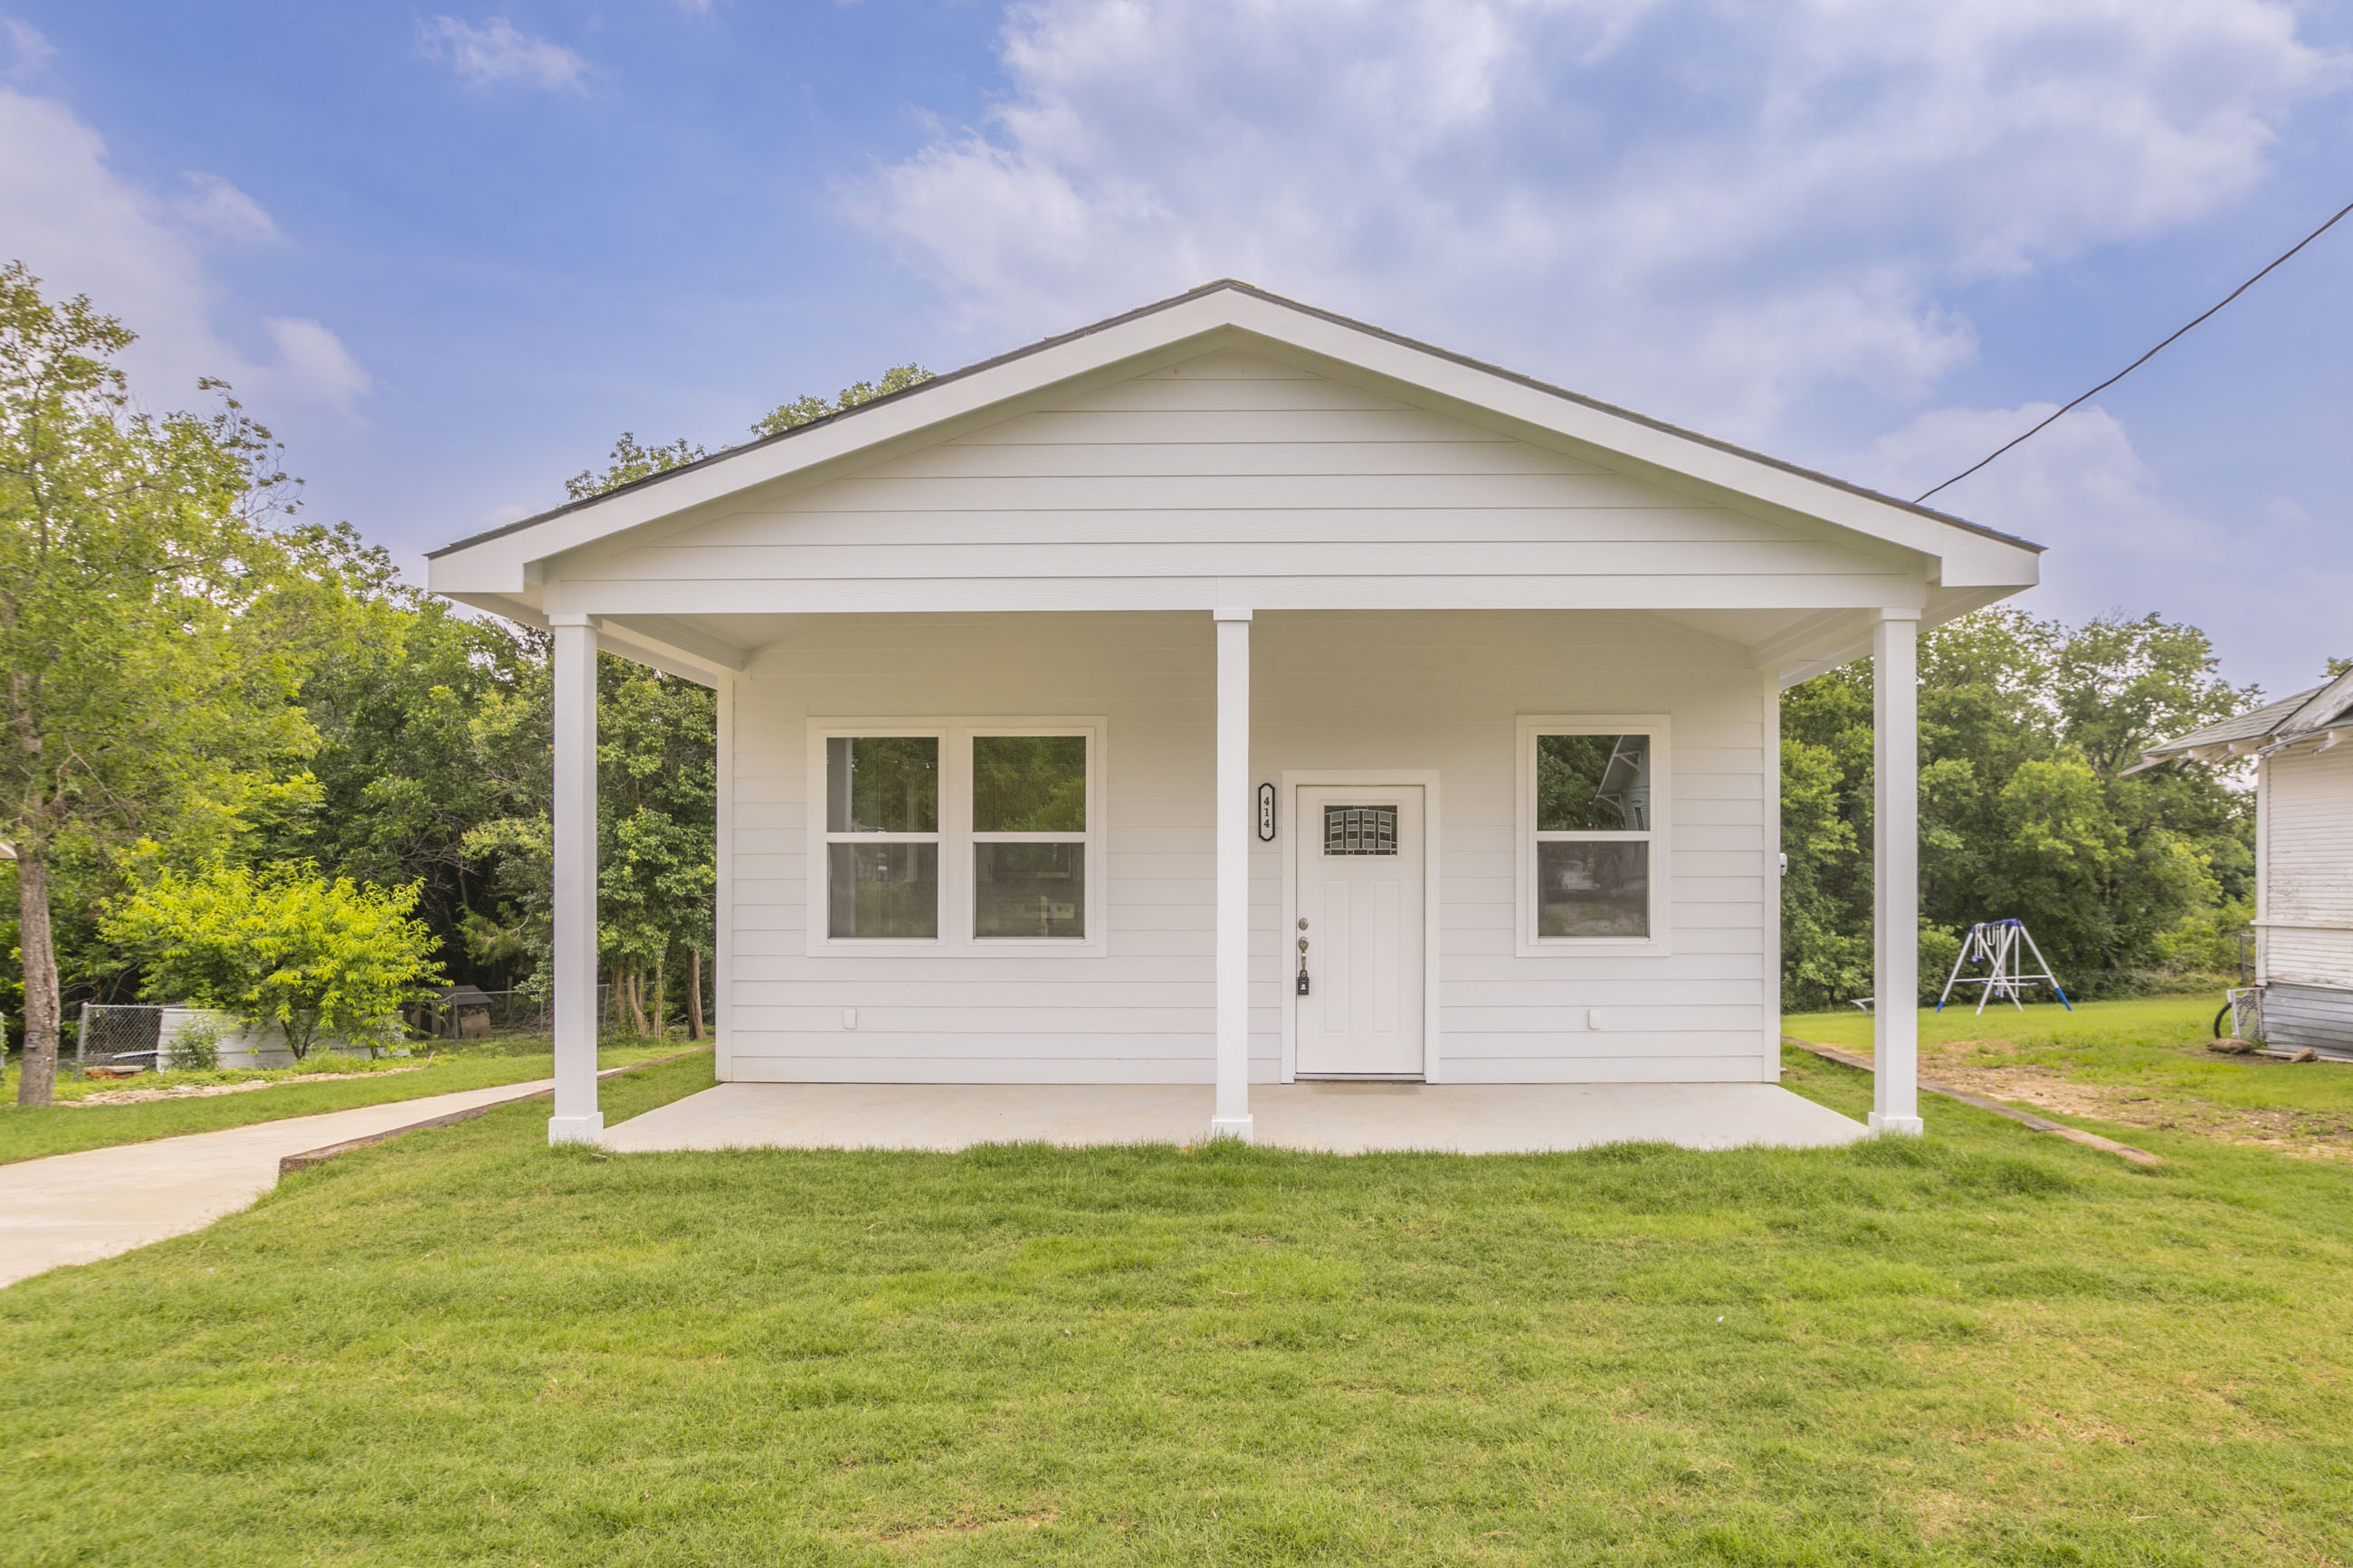
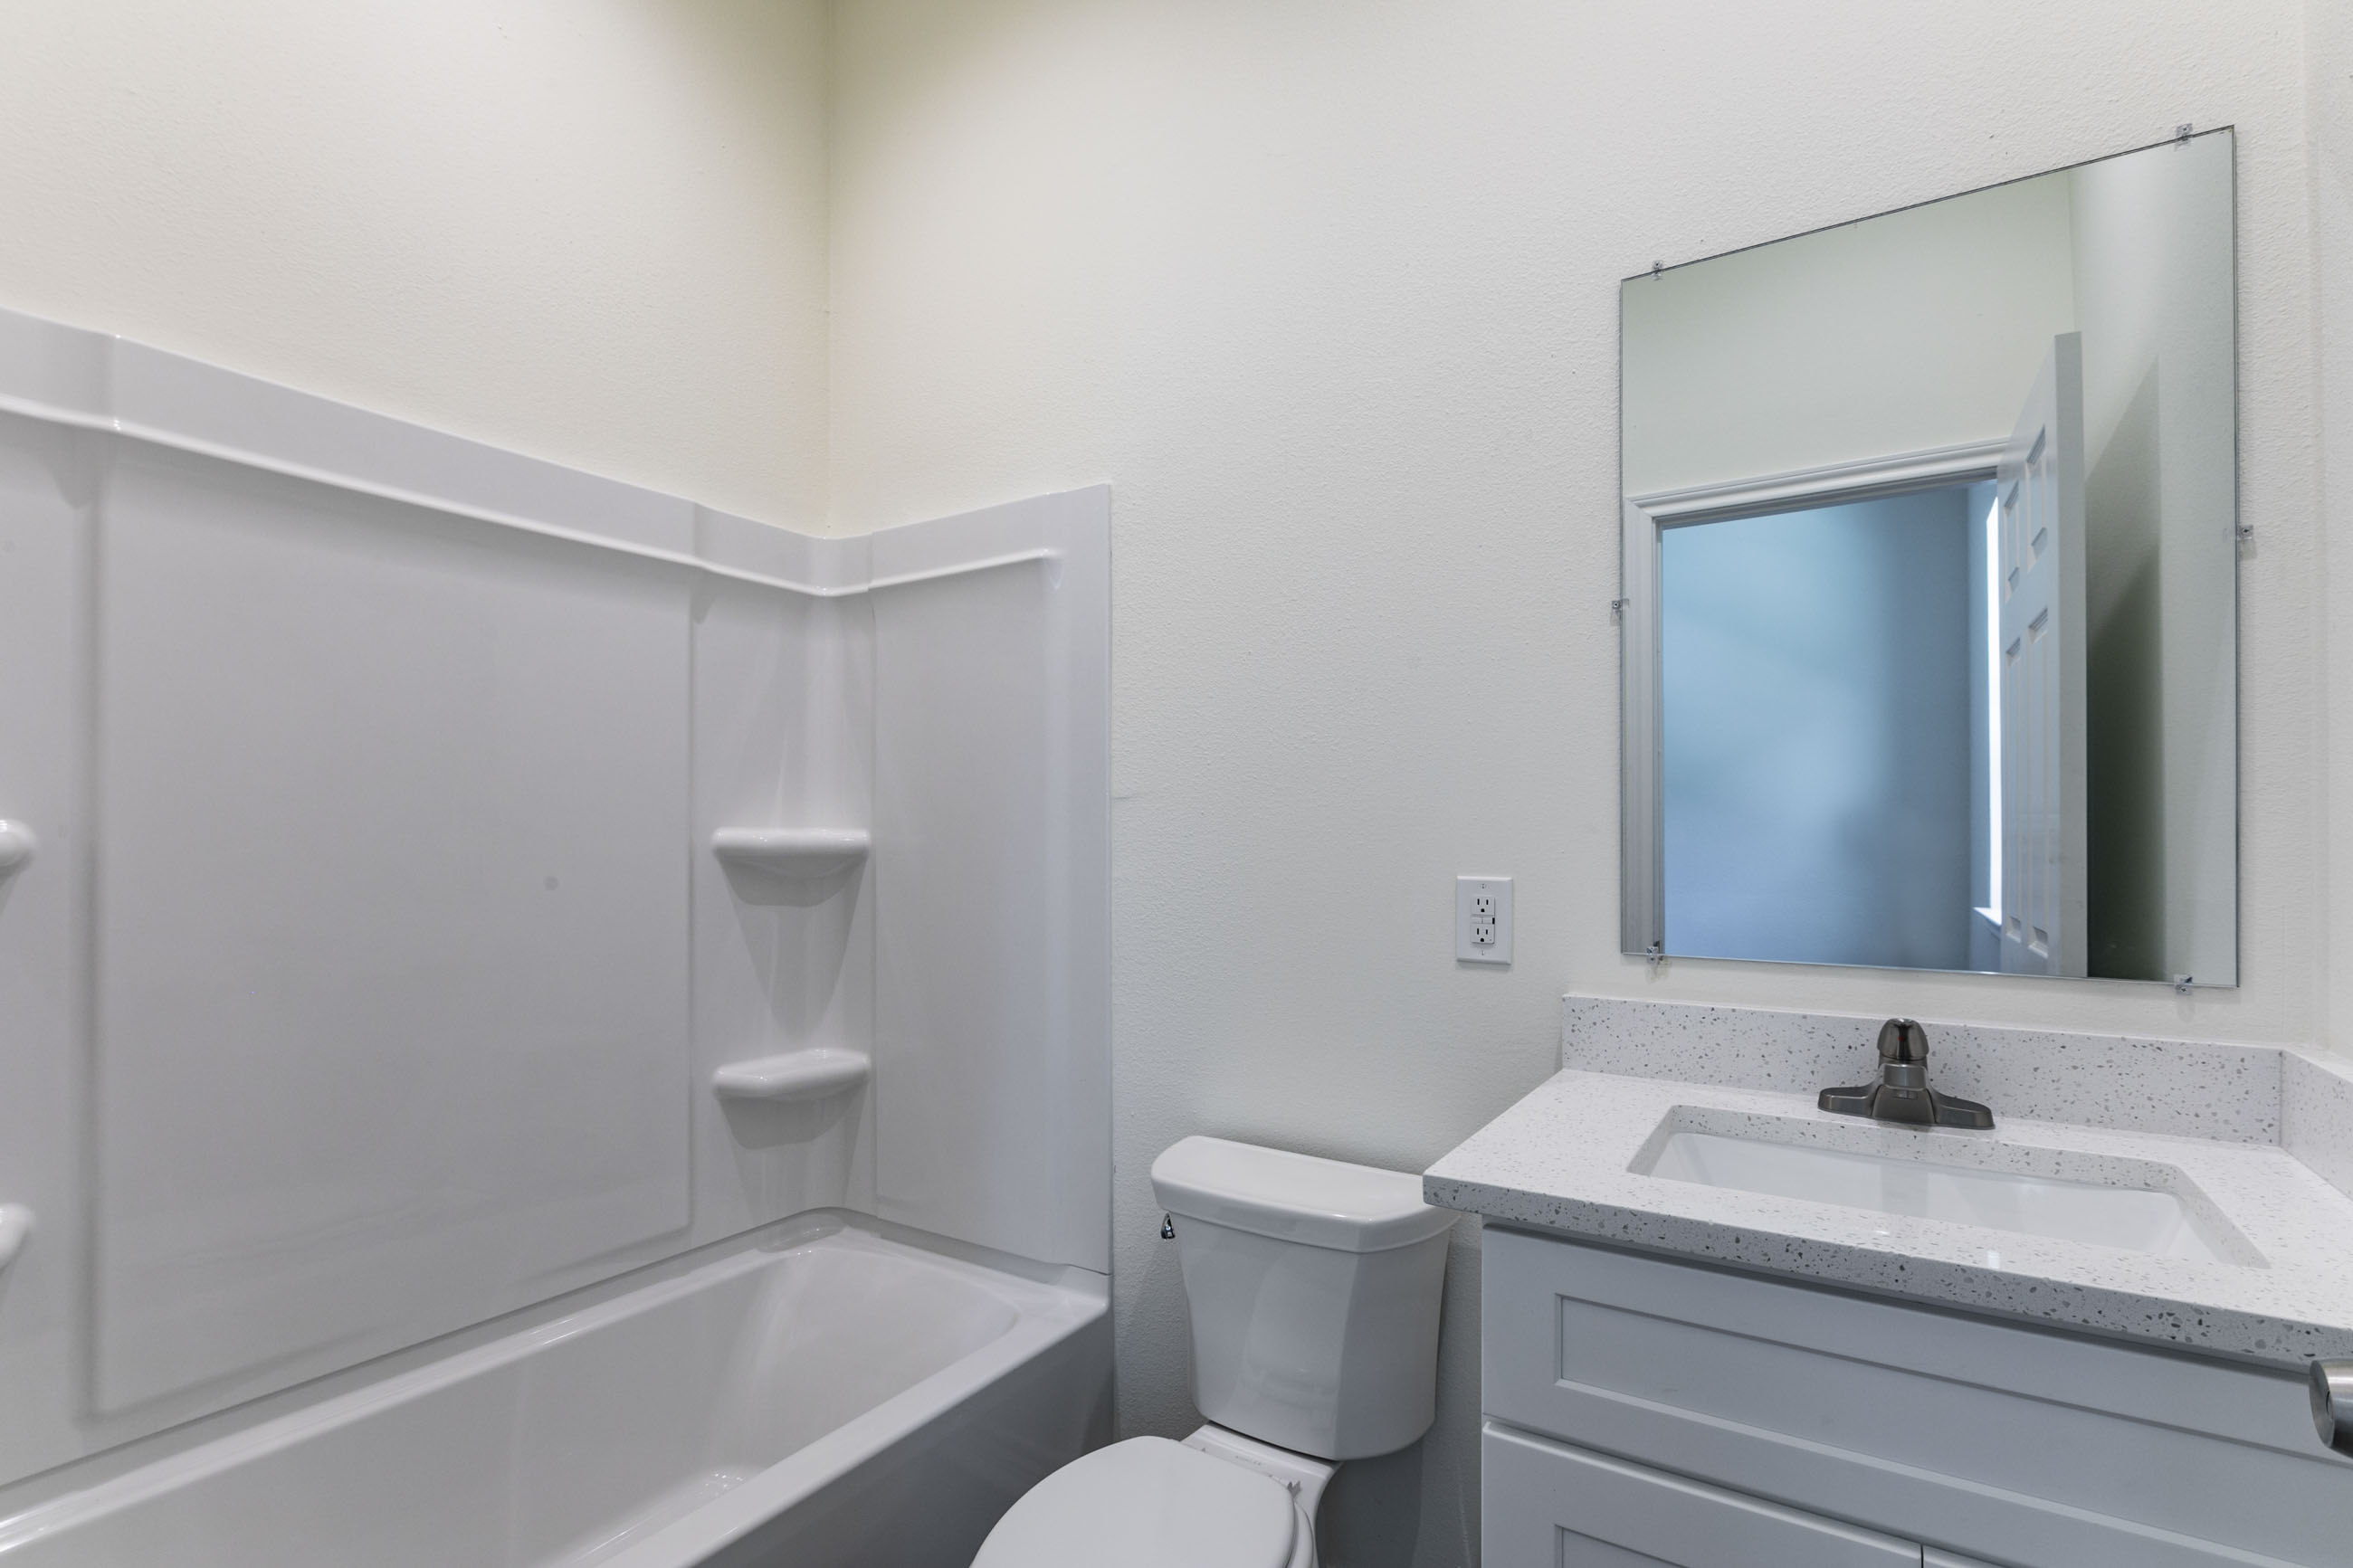
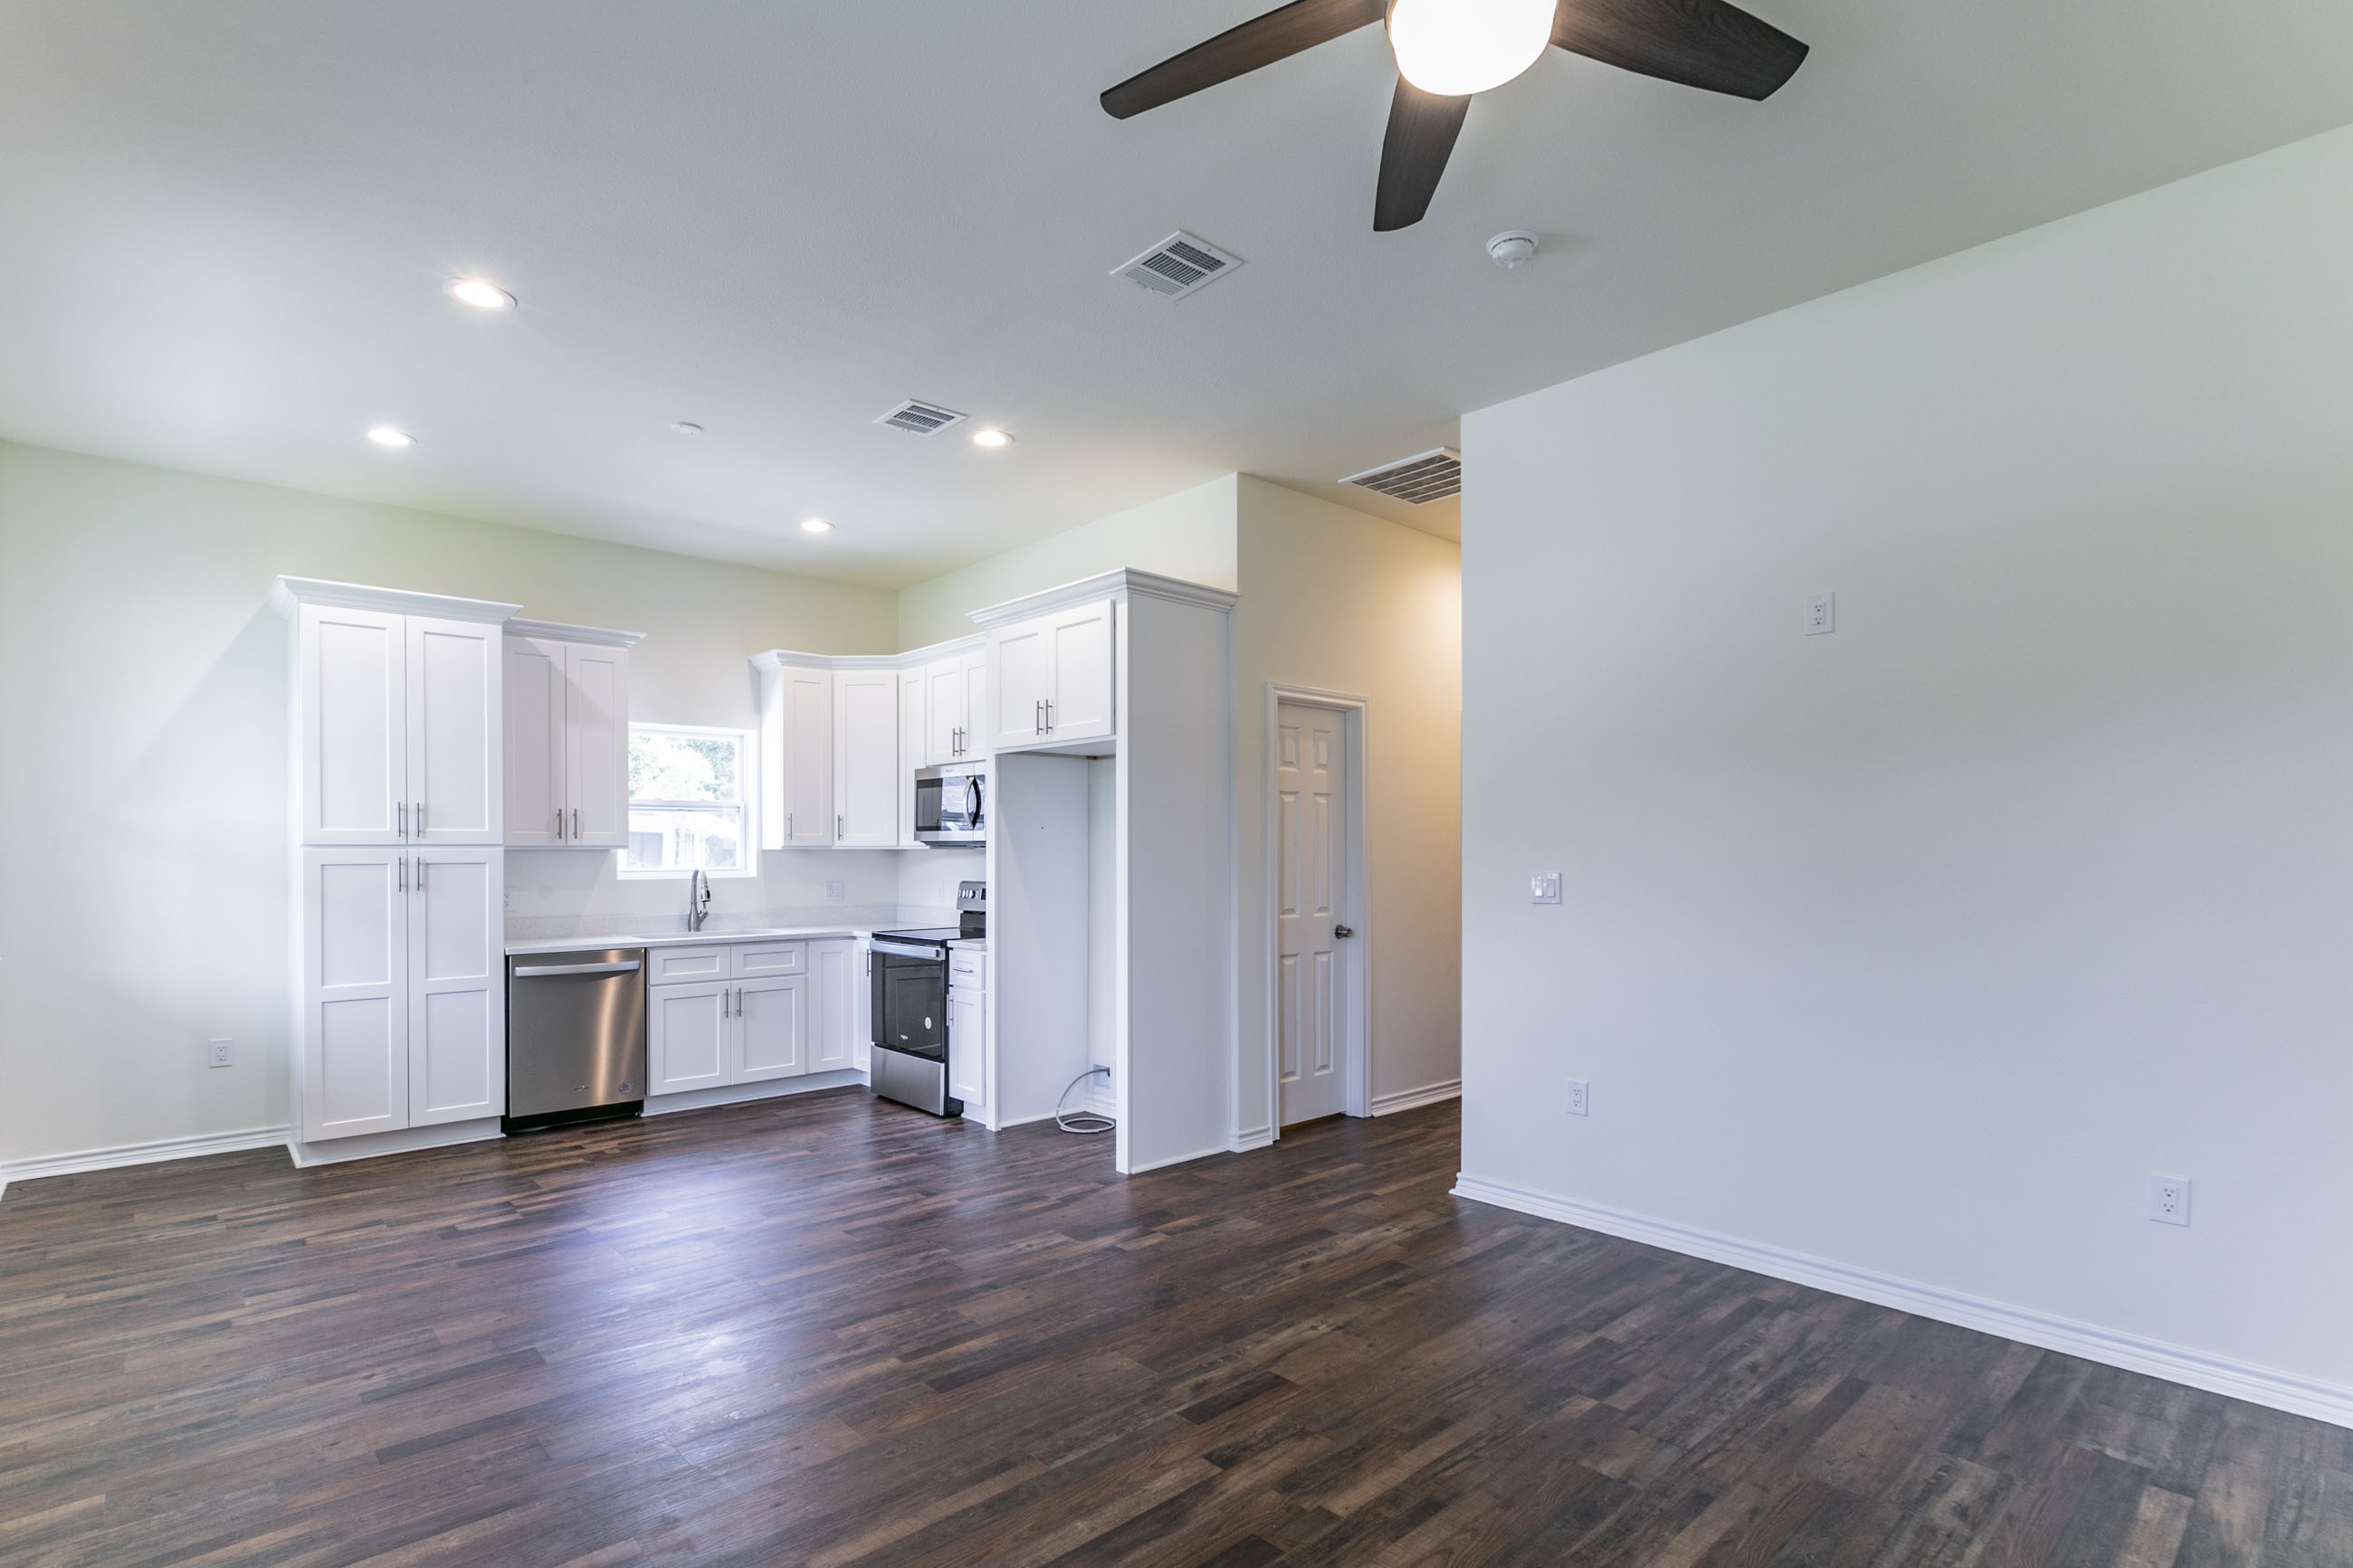
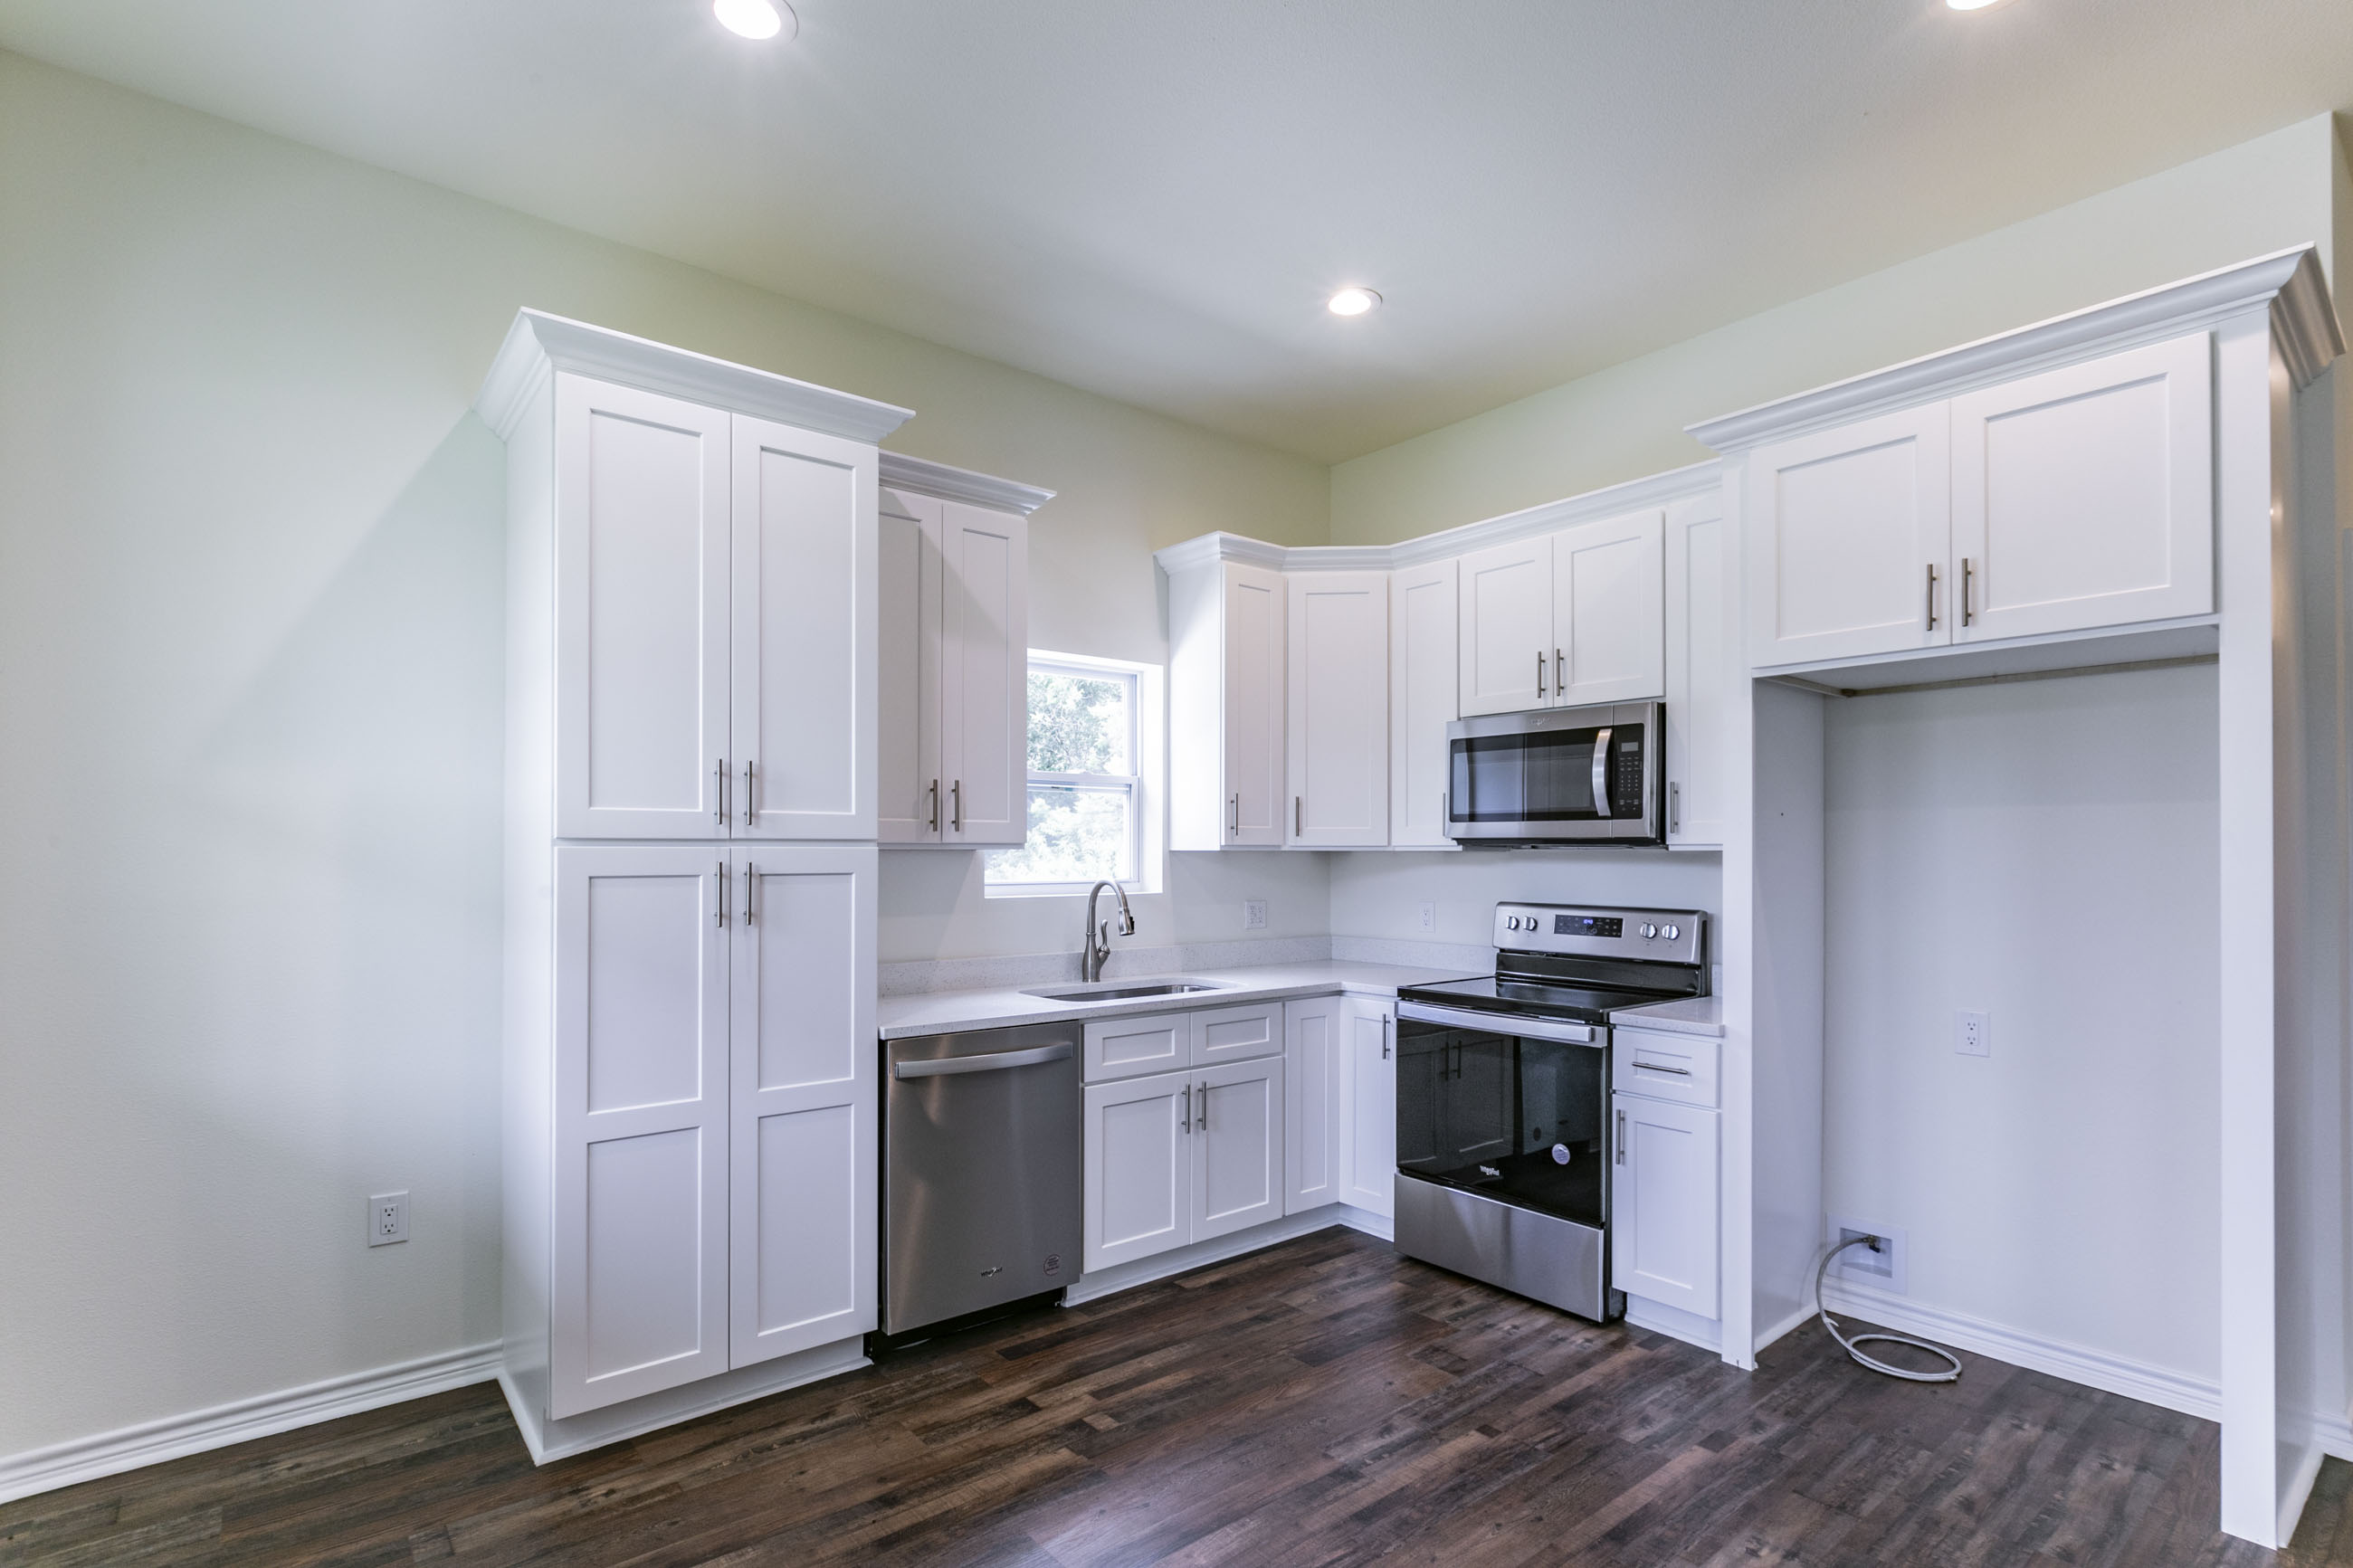
The Lily Plan 1
The Lily Plan 1
Request More Information
Talk to one of our home experts today!